Make your own lavender bags
Lavender growing has been a Hertfordshire industry for centuries and has seen something of a resurgence in recent years, with lavender being used in a whole variety of new ways, such as cookery and even in gin making! Traditionally one of its uses was to repel moths and to scent stored clothing and linens. We have created instructions for you to make your own lavender bag. There is a simple version and a more advanced version so you can try according to your skill level.
*Please note lavender can cause an allergic reaction for some people, so please ensure what you put inside the bag is suitable for the person who will use it. You can replace the lavender with oats for an oat therapy bag, or with other scented soaps or pot pourri!*
Materials:
Lightweight or thin plain fabric, a needle, scissors (pinking shears if you have them), crochet thread or wool, lavender (or pot pourri, dried herbs or a ‘guest’ soap if you do not have any lavender).
- Draw around a 4 – 6 inch diameter plate or tin lid on your chosen fabric and cut out with pinking scissors (if you have them).
- With a needle and thread, stitch around the edge of the circle in a running stitch, about half an inch from the edge. Leave a long thread at the beginning to make it easier to gather up.

3. Pull on the two ends of your thread to start to make a pouch.

4. Put in your lavender and draw tight.
5. Tie a knot to keep secure and a double bow, and your simple bag can hang around a coat hanger!
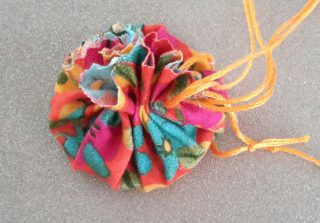
Your finished bag
Materials:
Plain cotton fabric, scissors (pinking shears if you have them), felt pens, needles and thread.
- Cut two squares of fabric about 15 cm (6 inches) square.
- Draw your own design on one square. You can let your imagination go wild! Fairies, flowers, your pet. Make it as colourful as you like! Here’s an idea below, but I’m sure you can draw something far more fabulous!

- Once you have drawn your picture, sew your two squares together with a back stitch (see diagram below), leaving a small slit to add your lavender. Fill your bag and sew up the remaining gap.
This activity is more advanced than the first, but gives beautiful results.
Materials:
Plain or patterned fabric (old bed linen or shirts could be used), felt pens, a needle, scissors (pinking shears if you have them), crochet thread or wool.
- Cut two squares of fabric about 15 cm (6 inches) square.

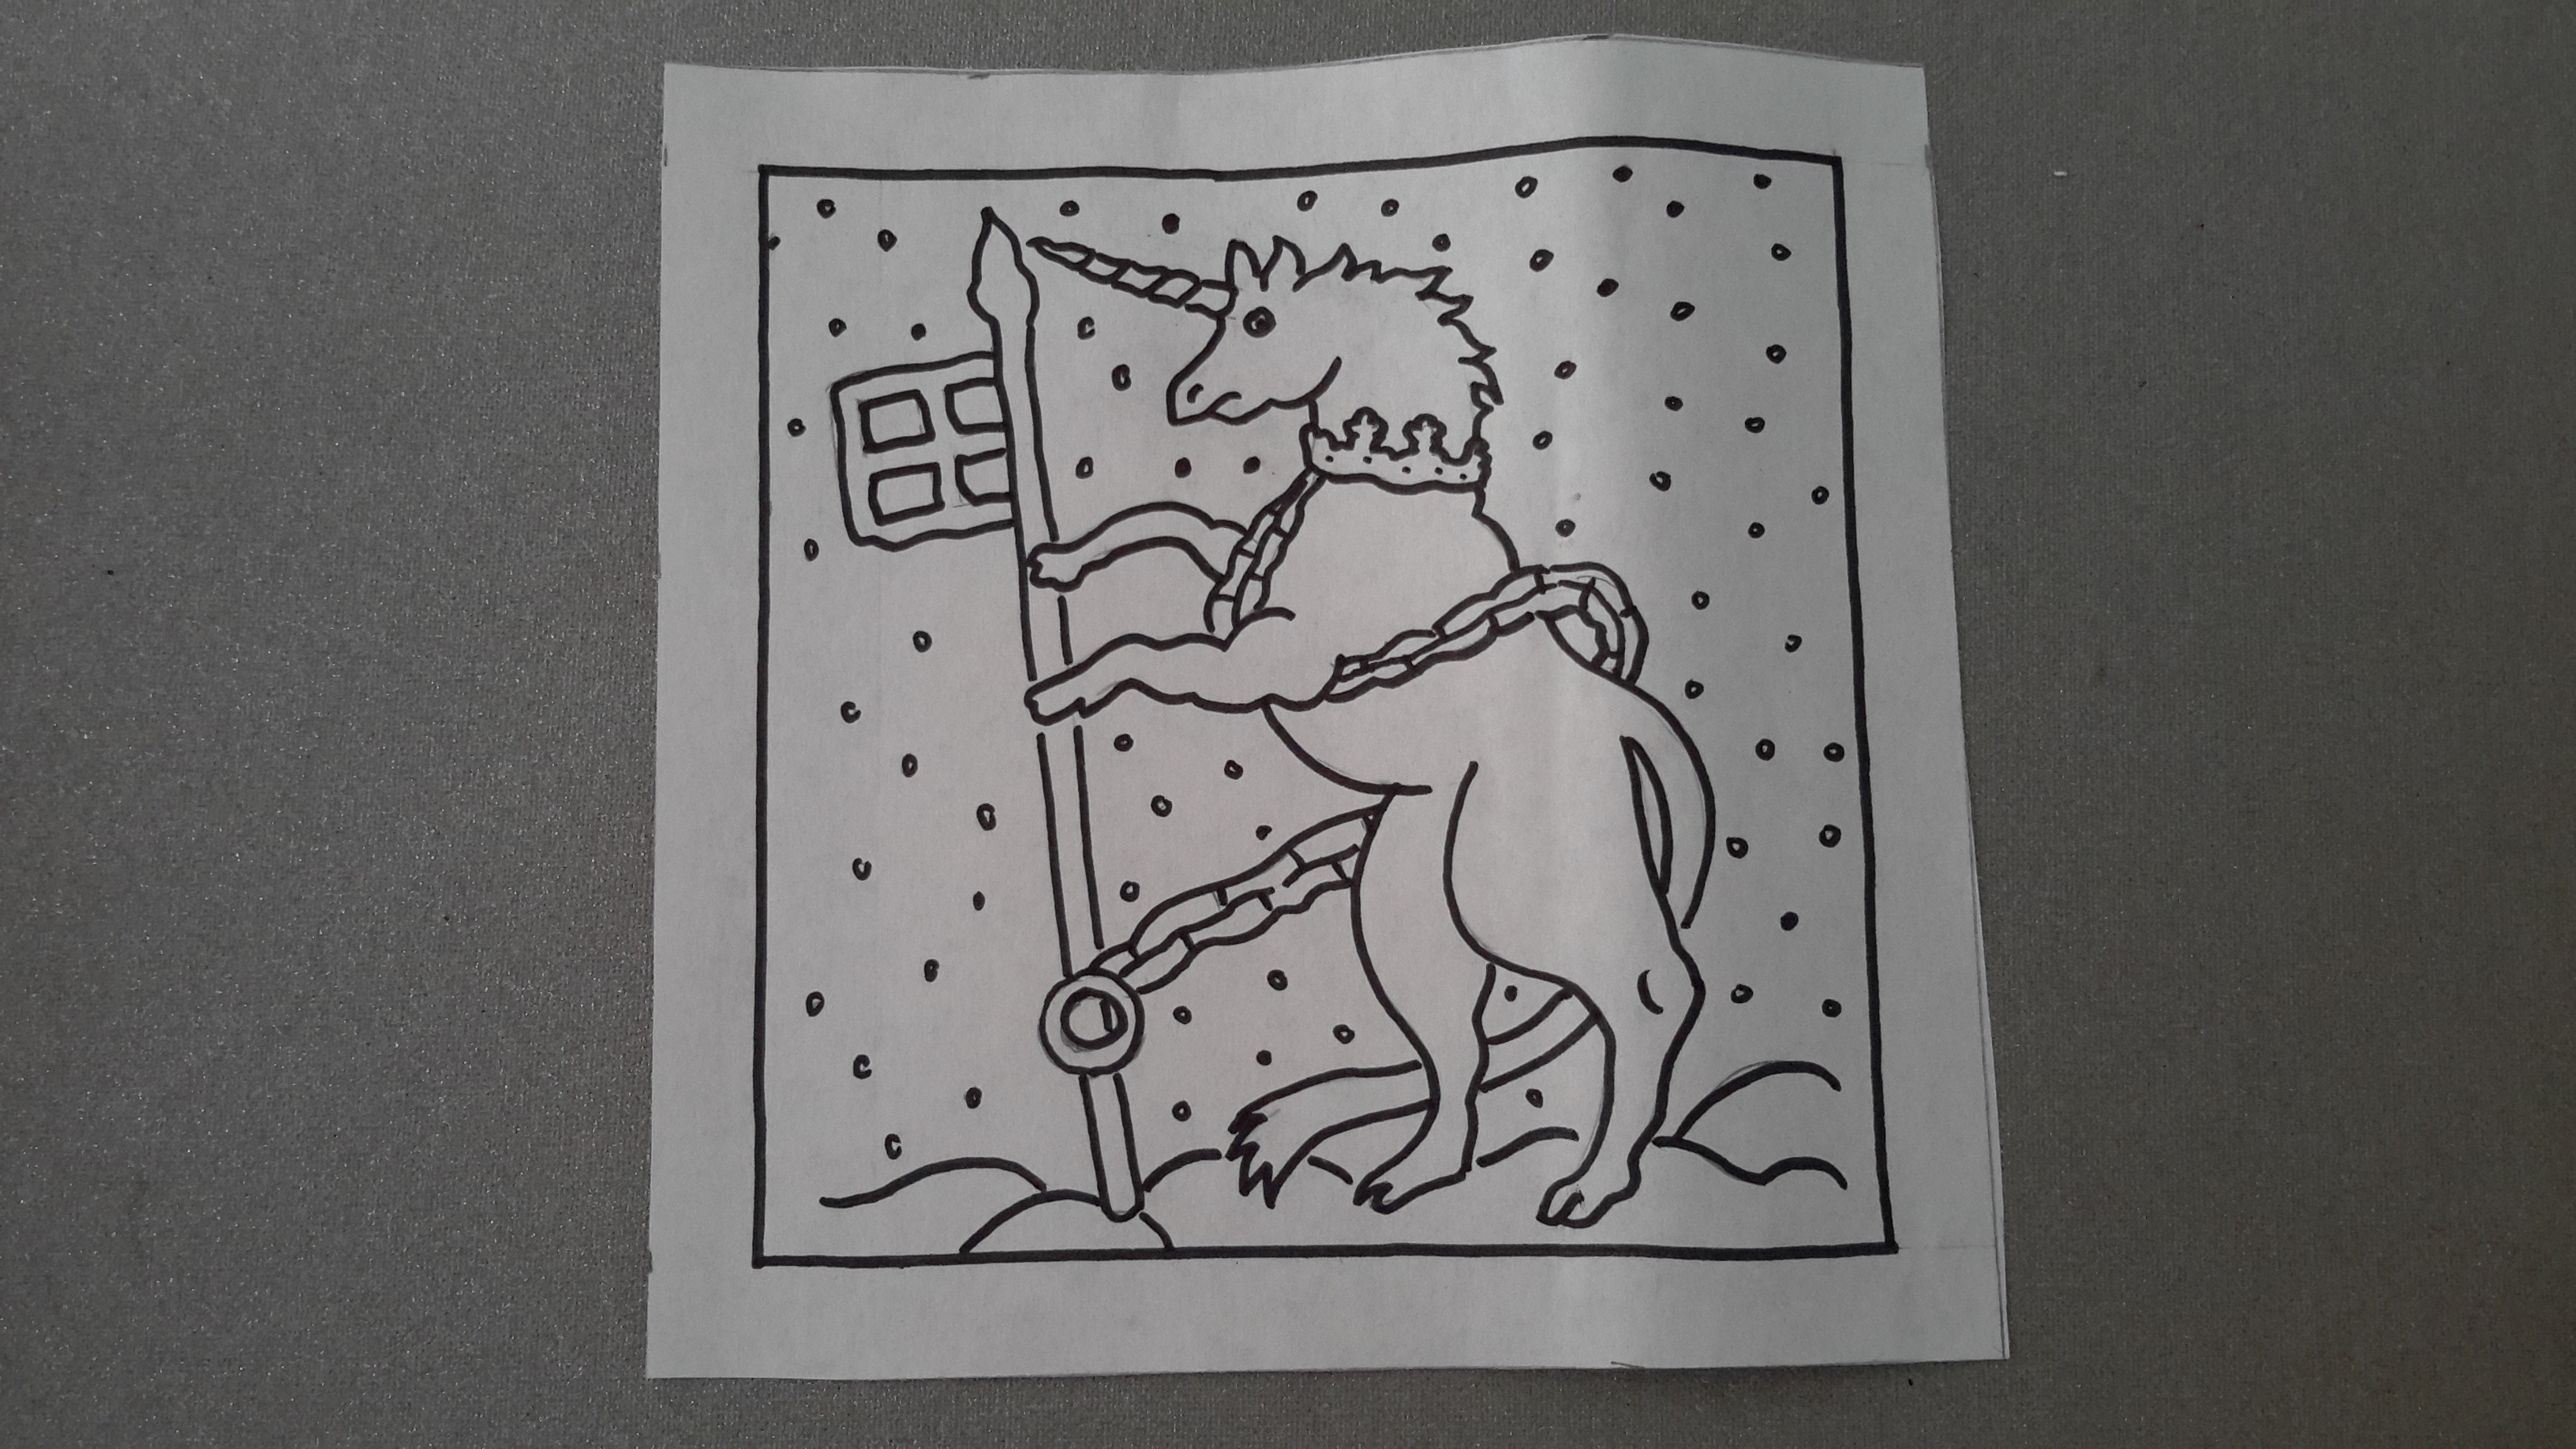
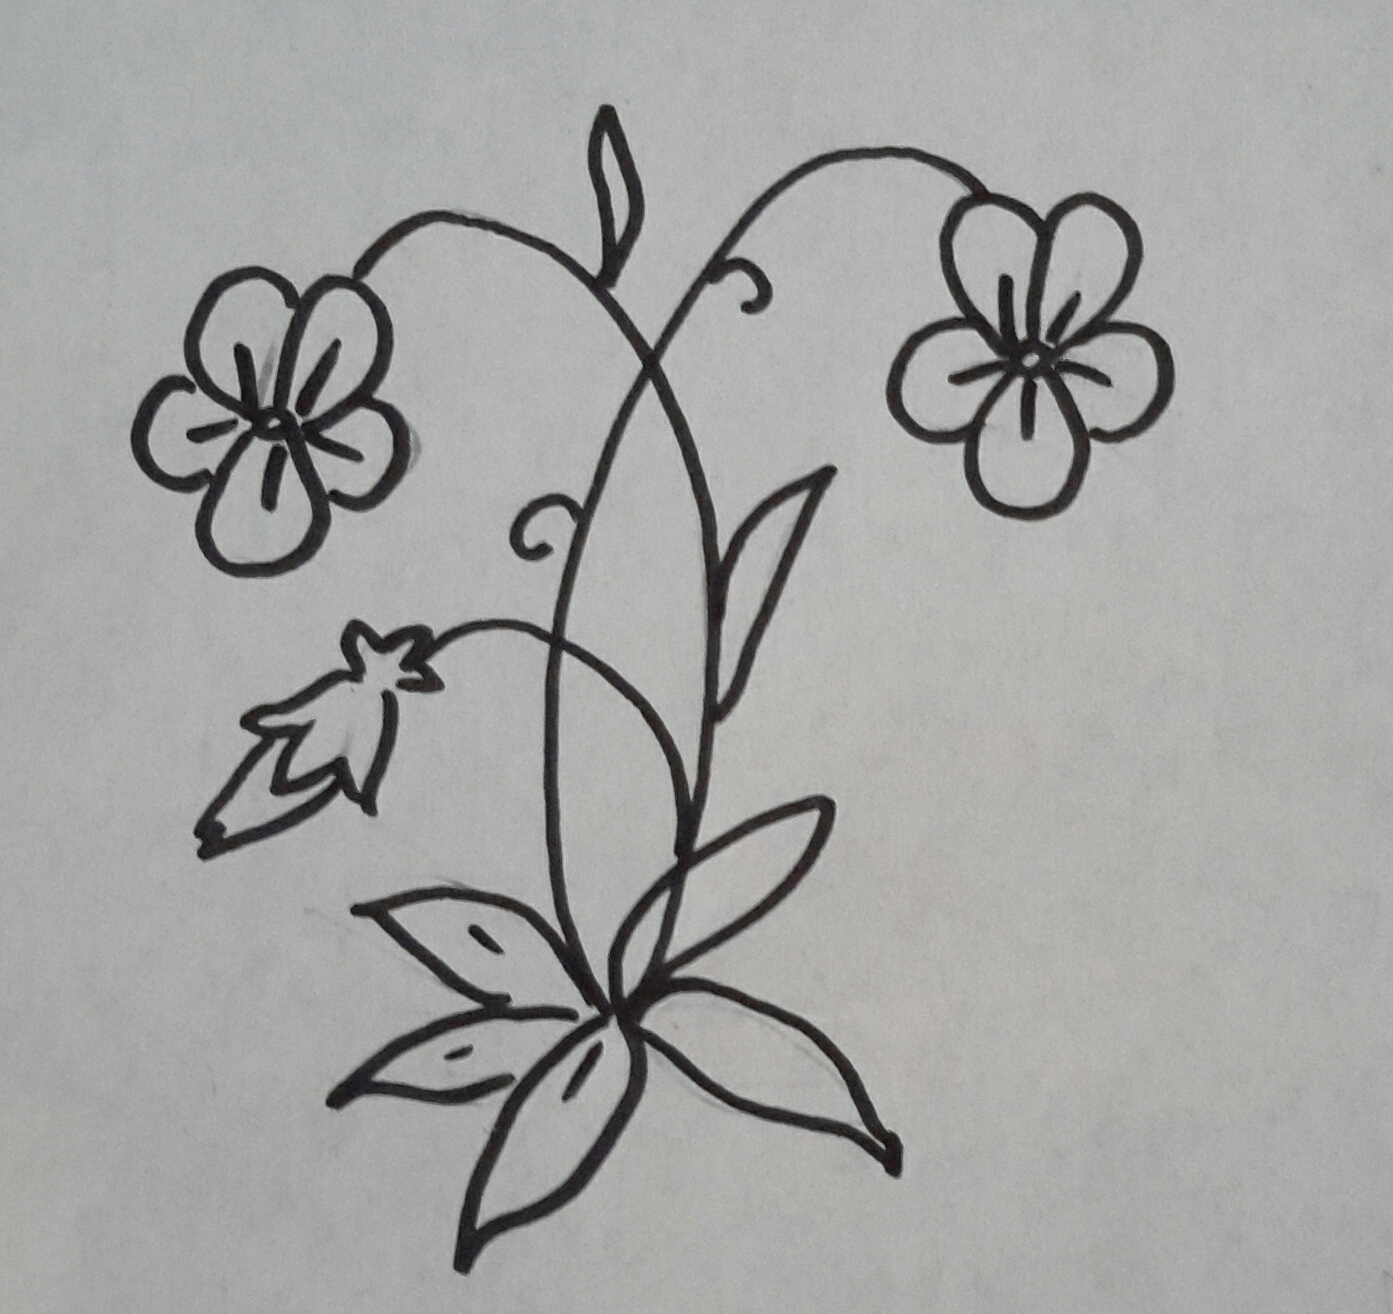
- Draw your design on the fabric either freehand, or, if you would like some inspiration, take a look below at some images from our archive collections. Further down this page are simplified versions if you don’t have time for the tracing.
- To download any of these images, right click and press save. You may need to re-size the image on your computer so that it fits your fabric. Print the image.

- Go over the design outline with a black felt tip pen.

- Tape the paper to a window and tape your fabric over the top. Trace your design in pencil on to the fabric.

- Embroider the design. You can either do a simple outline in backstitch (see below) or use a wider variety of stitches. Typical stitches of the 16th and 17th century included chain stitch, stem stitch, satin stitch, speckling, French knots, and detached buttonhole stitch.
- If you have cut out your square using pinking shears you can sew the squares together with a decorative topstitch. If you have cut out with scissors, the fabric will tend to fray, so you should sew your bag together ‘wrong sides together’, leaving one edge open about an inch to fill the bag. Then, having turned the bag inside out, you can fill it and slipstitch the remaining opening.
- Please do send a picture of your finished embroidery to @hertsarchives on Twitter.
How to sew backstitch
- Bring the needle through the fabric at A, back through at B and out again at C.
- Put the needle back through B and then out at D.

Backstitch
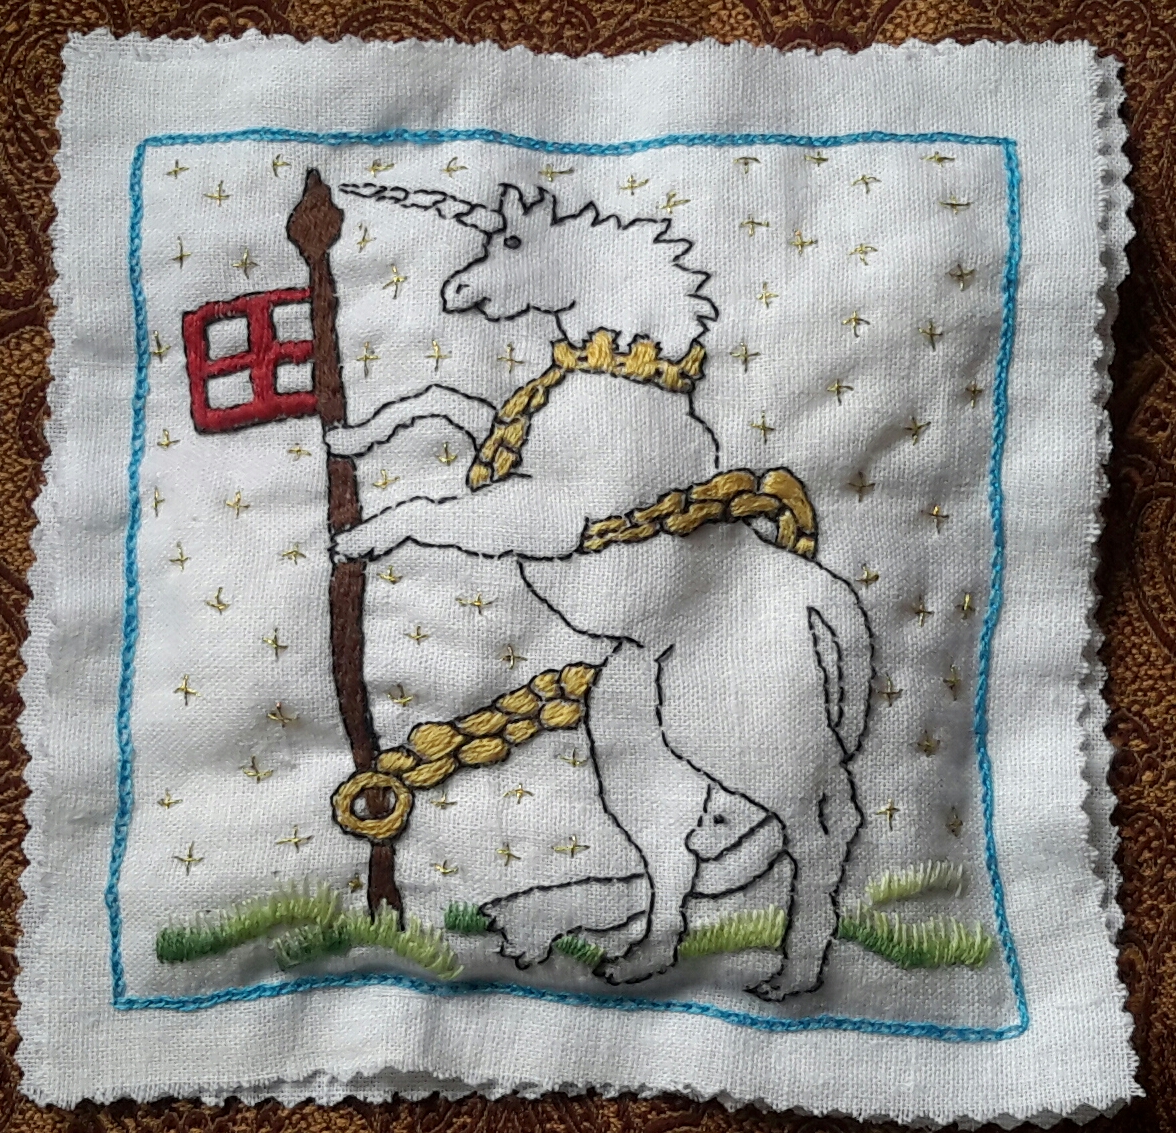
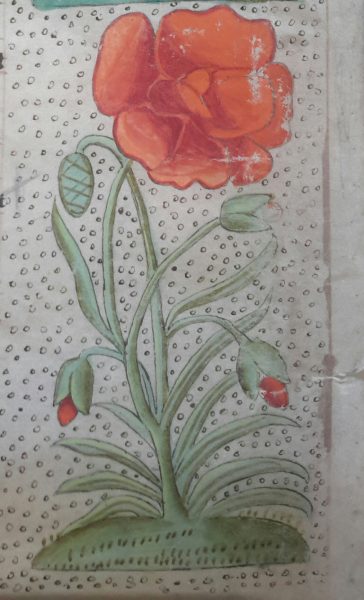
Inspiration from the archive collections
These images have been taken from beautiful charters held at Hertfordshire Archives and Local Studies. These charters were produced in the 16th and 17th centuries and are exquisitely decorated with motifs that are perfect for embroidery projects. The images are typical for these eras and were used on household items such as covered boxes, mirrors and bed hangings as well as clothing such as coifs (caps), shifts (shirts) and jackets.


Readymade designs inspired by the archives


Add your comment about this page